DevOps | Mobile Development
DevOps For Mobile Application Development 
Farhan Sumbul 24 Nov, 2016


So far in our previous articles, we discussed what’s low code, what Mendix platform offers, mendix modeller studio and pro, domain model, pages and learnt creating our custom page.
Let’s unleash the power of Mendix by adding application logic to our app.
In Mendix, Application logic can be implemented with the help of microflows. Mendix also has a concept of nanoflows used for offline apps, which run in the Mendix client.
Microflows?
Microflows allow us to express the logic of our application. A microflow can perform actions like creating / updating/ removing the objects, showing pages and making choices. It is a visual way of expressing what conventionally ends up in programming / code.
The graphical notation of microflow is based on BPMN (Business Process Model and Notation). BPMN is an industry standard graphical notation for drawing business processes in a workflow.
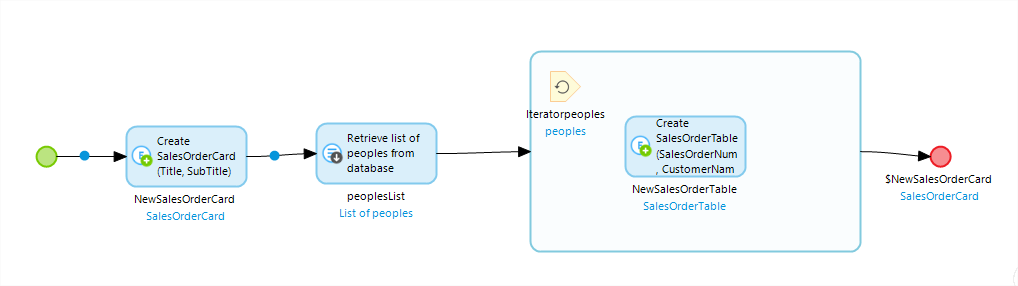
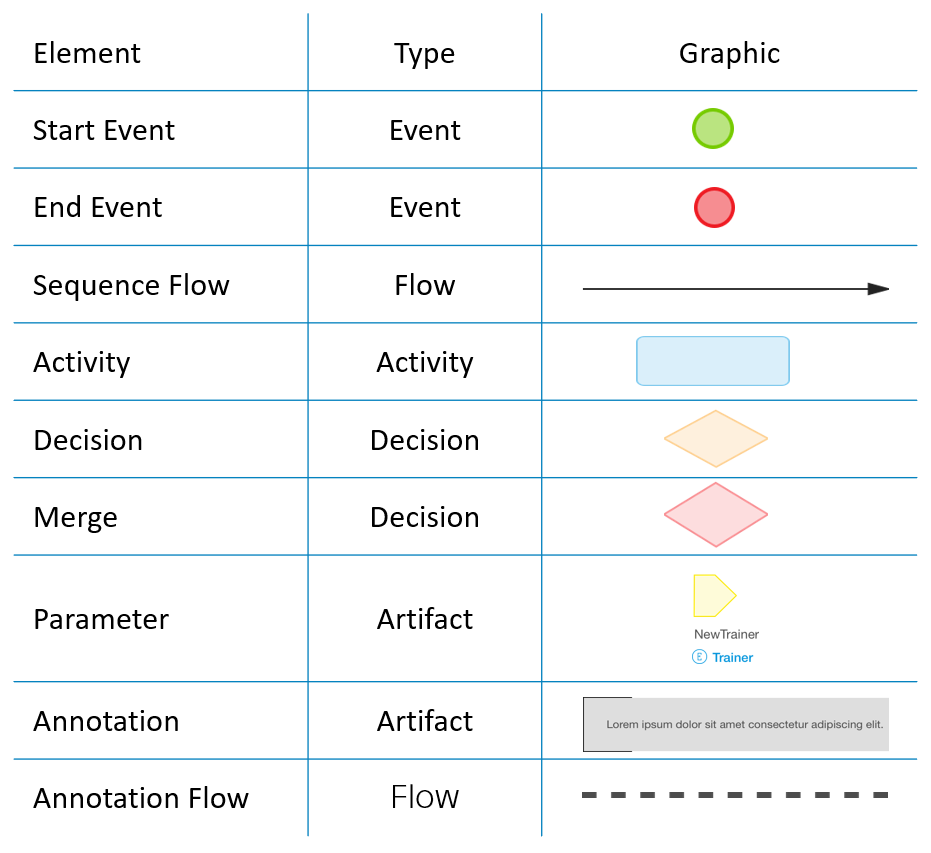
A microflow is composed of elements and here is the categorized overview:
Example Microflow:
Activities define the actions, which are executed in a microflow / a nanoflow.
Core blocks of a micr flow are activities and we have different types:
Create list, add to list, union etc
Call Javascript, java / microflow.
https://docs.mendix.com/refguide/activities
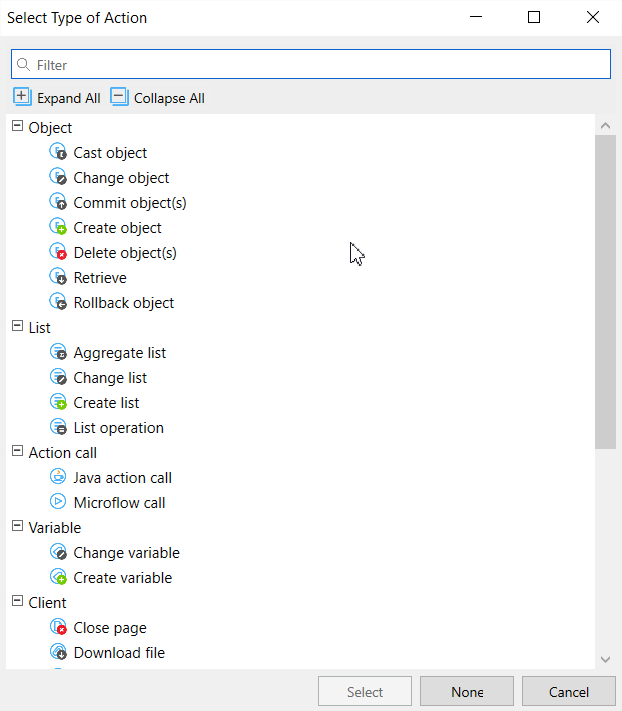
On the microflow canvas, once you drag drop and empty activity and double click on that, you will be able to select type of action as shown:
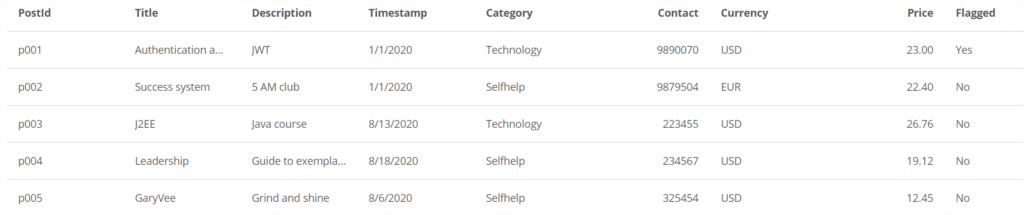
Now let’s start with developing a microflow, here is the Posts page developed earlier (Note the Price and currency columns)
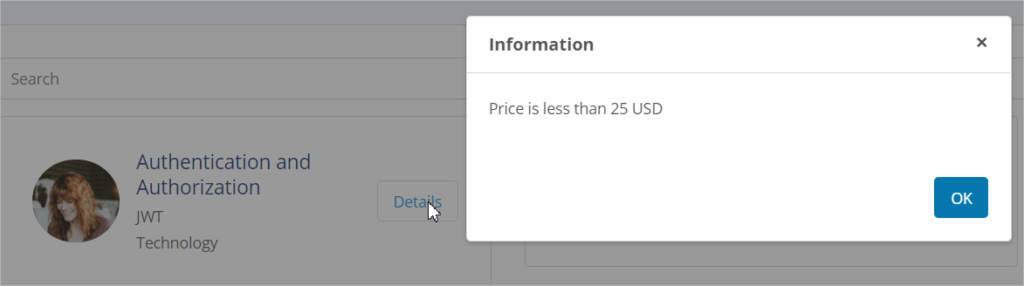
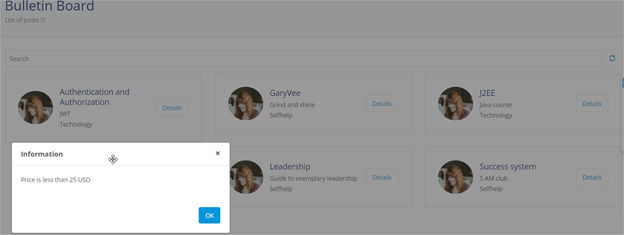
Let’s create a microflow and link it to our custom page developed before. Idea is when we click on the ‘Details’ button beside the title, it should display an information popup saying “Price is less/more than xx USD” as shown:
Go to the editor, open our custom page developed before and double click on ‘Details’ button, set the event as OnClick-> Call a microflow
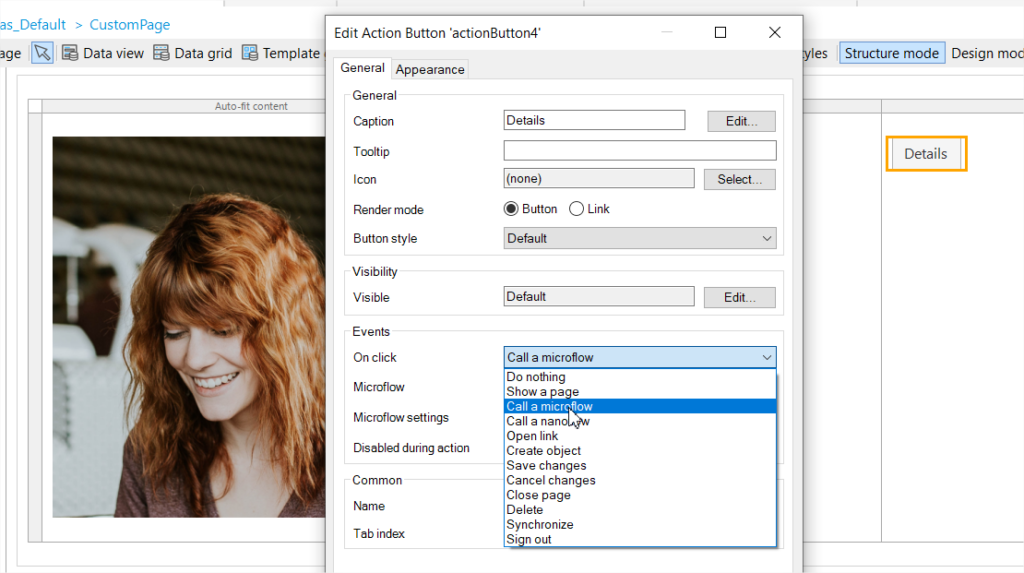
You can either click one ‘New’ to create a microflow / select an existing one.
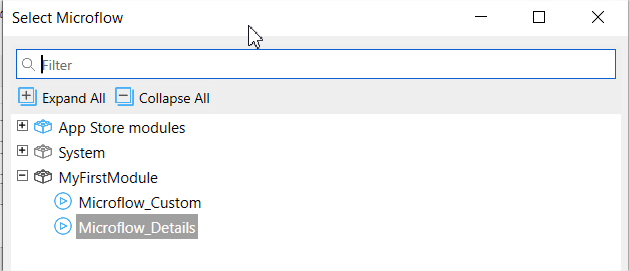
Click on ‘New’ and we are going to create a microflow like this:
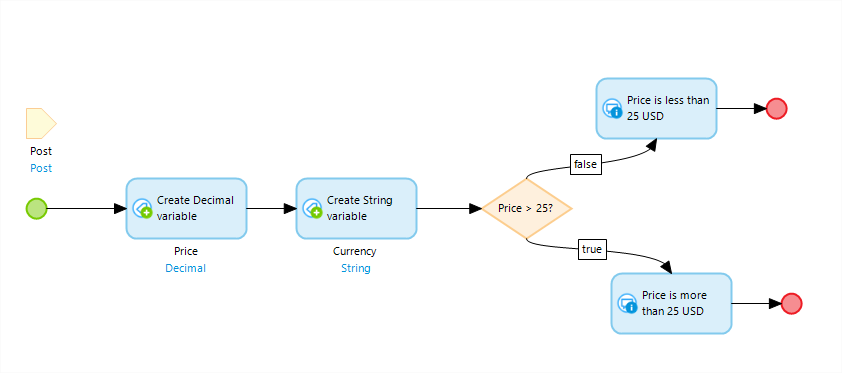
The microflow canvas has simple and intuitive interface. Simply click and drag the elements

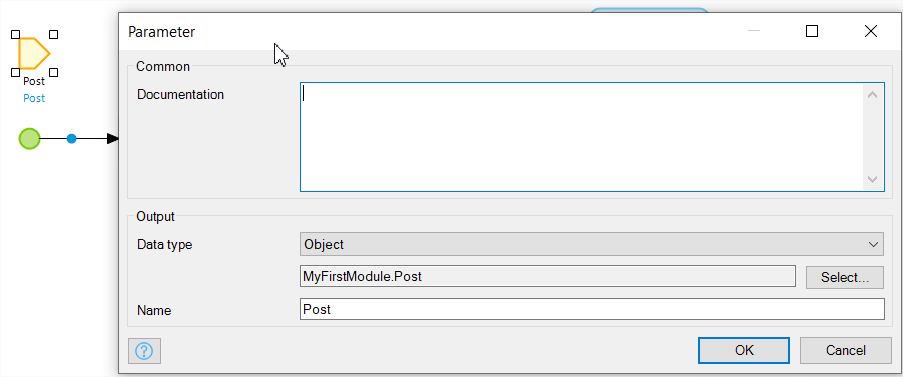
First start with input parameter to the microflow with Post object (when clicked on ‘Details’ button)
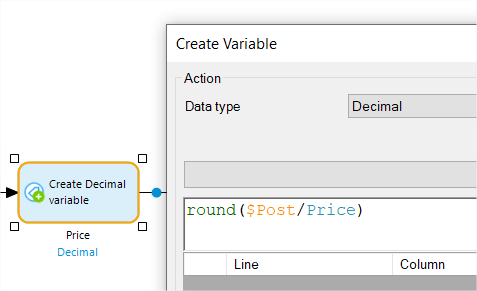
Create a decimal varible (round is an expression, explained expressions at the end of this article)
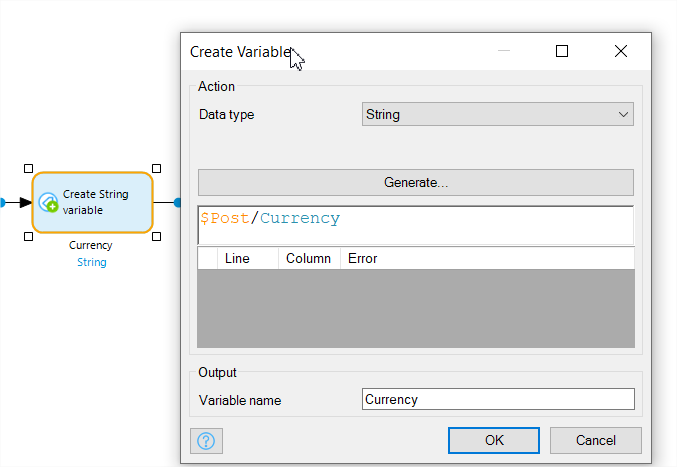
Create a String variable for holding the type of currency (USD/EUR etc)
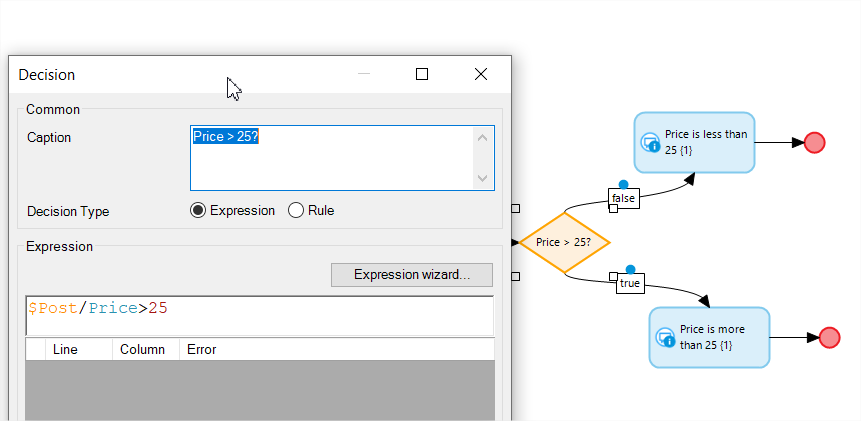
Create a decision for checking price is greater than 25 or not. Connect two Show message activities, one for true path and other for false path (double click on the flow line to configure which is true/false path)
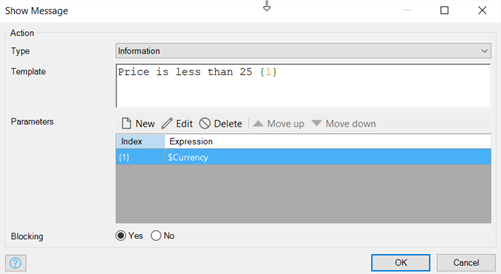
Configure the show message activity as shown:
Connect to the end events and that’s all your microflow is now ready to be called. Make sure you have called the right microflow on the ‘details’ button onclick event.
Save, run and view:
So far, you created an excel sheet, imported into Mendix, generated CRUD pages including search and pagination, created a custom page and added microflow to display a message.
As used in one of our activities above, here are notes about the microflow expressions:
Named items in the microflow (Ex: objects, lists, or variables) can be called in an expression. Just add a dollar ($) sign before the variable, $customer could refers to an object named customer.
Ex:
$customer/CRM.Customer_Order/CRM.Order/Number).
$CurrentPrice/Price – (($CurrentPrice/Price div 100) * $OrderLine/Discount)
More info at :
So what’s next?
You can try out integration activities, for example calling a money conversion external webservice and show the end message defined in our microflow in only one currency (ex: EUR).
Explore Domain model, create your own domain model without excel.
Check how xpath and expressions are useful in microflows.
Explore the security levels and deployment strategies.
Opportunities are endless with Mendix. Go Make it.


