Application Modernization
Transform with Domain Model for successful Application Modernization 
Gurava Induri, EVP, Solutions Engineering 15 Jul, 2019


“Mendix Domain Model” is a visual representation of the data structure of the application.
The Mendix project consists of “modules”. A module is a unit that divides the functionality of your project into separate parts. By default, you find a module in Studio called “MyFirstModule”.
Each module has its own domain(data), model. It is core to the architecture of your application.
The domain model describes the info in your application domain in an abstract manner. All modules within an application project can use data from all the domain models within the app.
Mendix domain model consists of entities with their relationships to other entities, represented by associations. Adding annotations to your domain model help explaining how it is to be used.
The Mendix domain model is based on the class diagram in UML. Which allows the specification of the entities (and their attributes) and associations. The concept of ‘generalization’ in Mendix is precisely the same as in UML. However, the notation to display the generalization is different (blue label above the entity). Any dependencies between the 2 objects have to be specified using event microflows or delete behavior/prevention.
Entities represent a class of real-world objects. Note that entity names should always be singular because the entity is the blueprint of the object, not a list of objects.
Entities have attributes to describe them.
Attributes are characteristics that describe the entity.
For example, a Product entity typically has attributes: product name, quantity, and other information. If we draw a parallel with databases, the attribute is a column.
An association describes a relation between entities. In the domain model, an association is represented by a line between two entities. If we draw a parallel with databases, the association is a foreign key.
Possible Associations are:
With the help of Annotations, we can add comments to a domain model.
You can find all these together in the picture below:
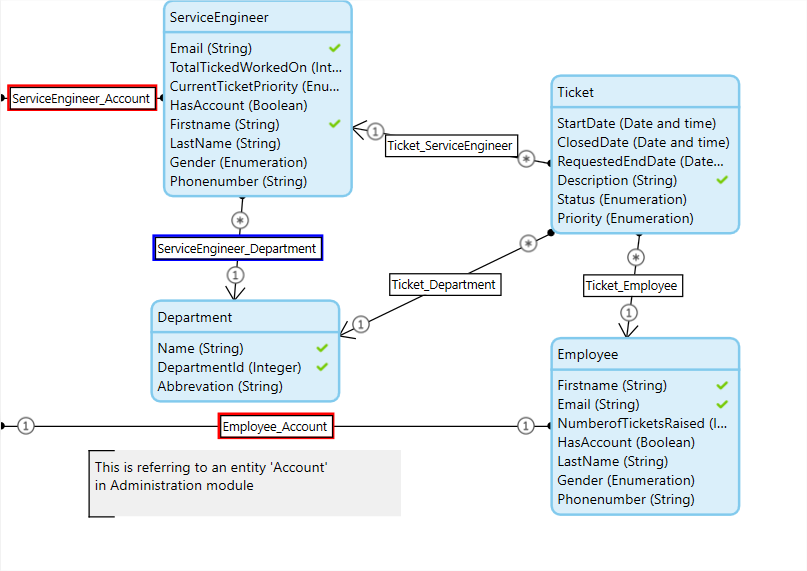
Sometimes, you may want to add info to an entity that is used in a different module as shown above (Account entity from Administration module), or perhaps a module that is imported from the Mendix App Store. You don’t want to customize the entity, as this will prevent you from getting updated versions of that module. At times, you may want to add additional info to some objects of an entity but not to others.
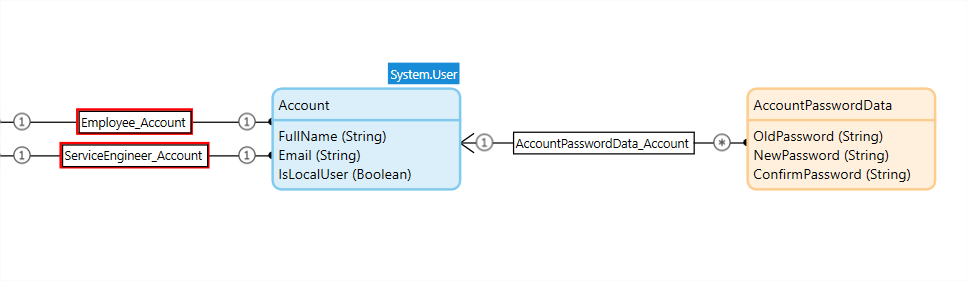
In such cases, there are two methods you can use: generalization (or inheritance ) or associated entities.
Yes, it is a crucial decision to choose on a daily basis whether to use inheritance or associations.
How do you want to set up your users?
It would be bad practice to add additional info directly to the System. User entity (Yep, Mendix prevents you from doing so).
You should consider both options #1, #2 as each one can have a huge impact on the performance of the application or the speed of development.
Though there is no explicit answer for this, few situations where the below suggestions will help
Use inheritance(generalization) for entities:
that always require the info from the associated objects, and users intensively search and sort on the associated attributes (if you do more inserts than updates it might be worth using inheritance).
Inheritance make your microflows easier to maintain and you can re-use functionality. However, you do lose flexibility. If there are many new or changed objects loaded through Excel, or web services, or any other integration, then inheritance can slow down the process significantly.
Use one-to-one associations for entities with:
a high number of transactions on the different sub-entities (multiple changes /creates per second being high)
only a handful of common attributes.
If you feel that it isn’t worth creating associated objects for the info, it isn’t worth inheriting either.
If it’s possible to separate all data in a separate entity, and this info is only used by the application in a limited number of locations, keeping it to a one-to-one entity will be faster.
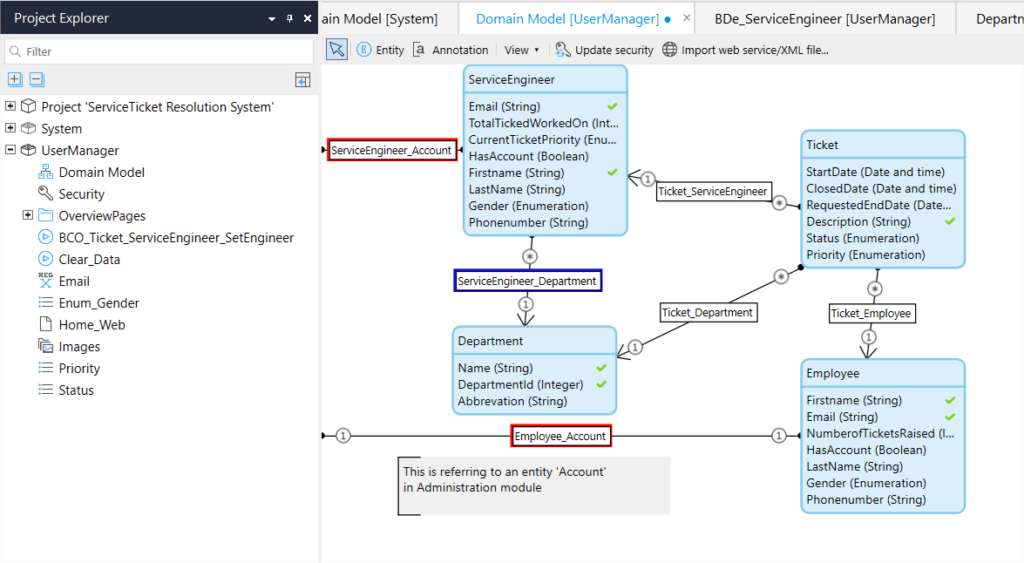
How to create an entity, attributes and associations:
Project explorer -> Your module -> Domain model -> Click on Entity and drop on the canvas
Double click to open the properties, where you can configure the attributes, associations, and validation rules etc., You can click on Import webservice / XML file option to generate domain model, interesting right?
Ok enough of it!! Well, you might be wondering, I said low-code and explaining to you all RDBMS, UML, etc..
As the data model is the backbone for any application, understanding the internals always helps (your choice).
Let us start with an Excel, convert that into domain model and build a bulletin board app, sounds interesting?
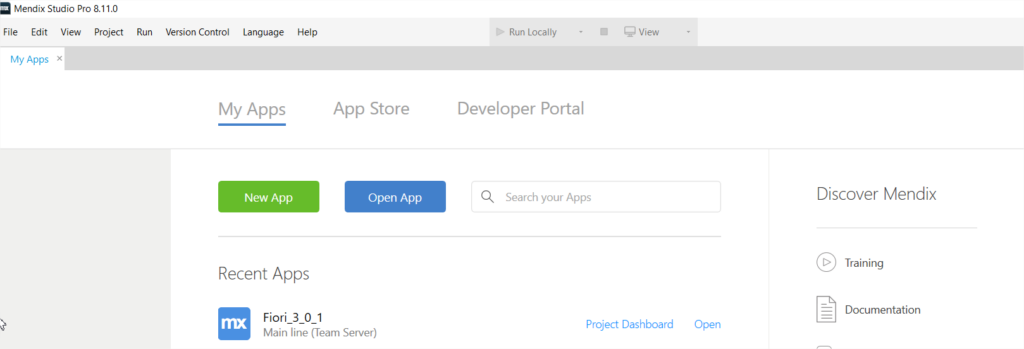
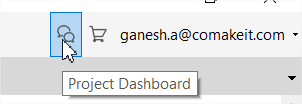
Open the Mendix modeler and click on the project dashboard, and then ‘Create App’.

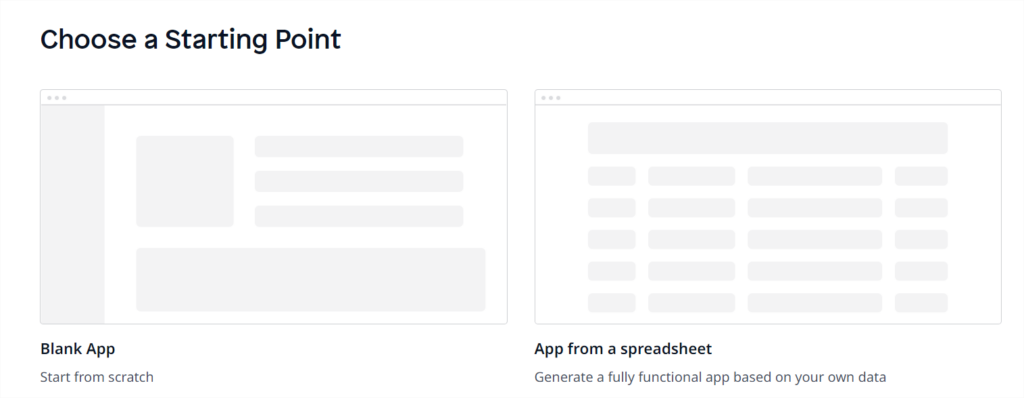
Select “App from a spreadsheet” (This spreadsheet option is only present on Studio, let’s create there and sync to Studio Pro)
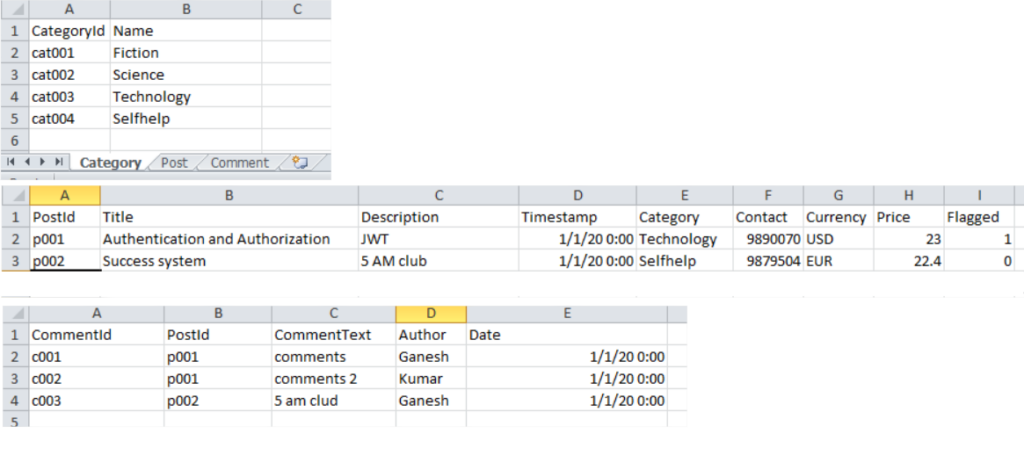
Create an excel as shown (more rules on using excel at https://docs.mendix.com/studio/start-with-data)
Worksheet names are entity names. Attributes are columns under each worksheet (Entity)
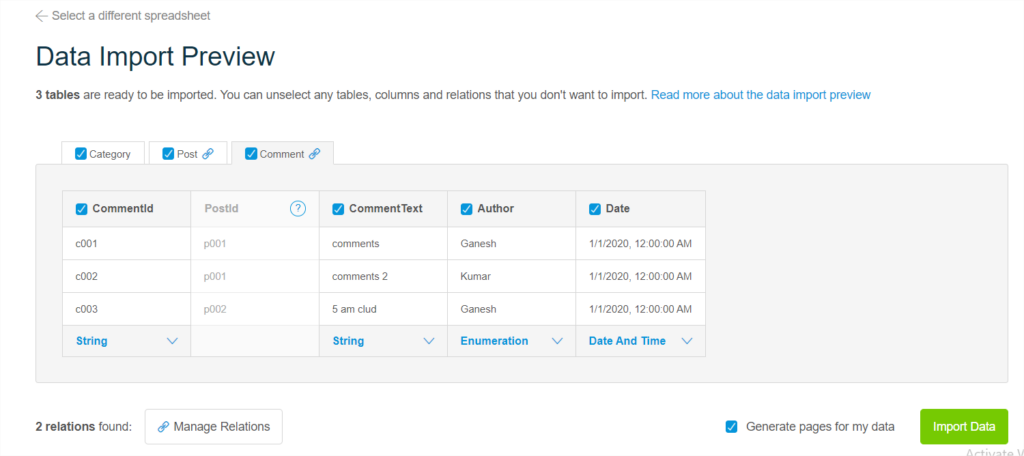
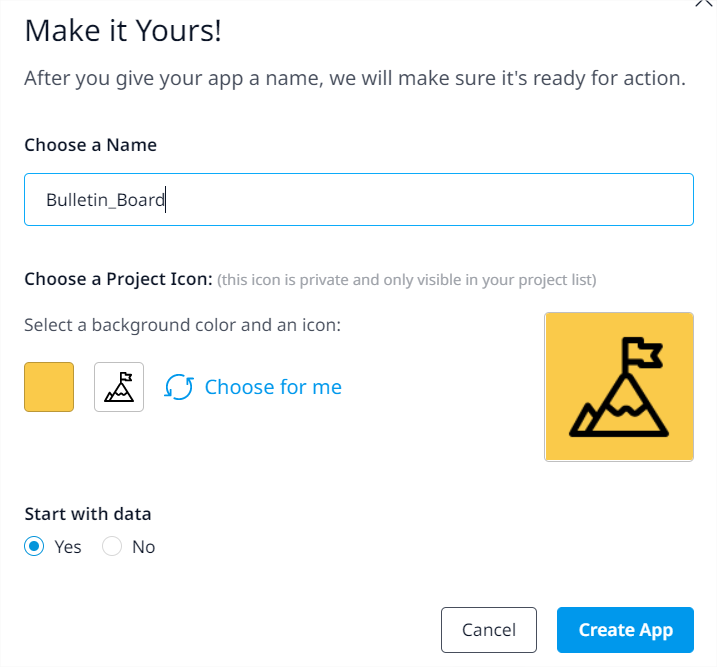
Manage relations and check ‘Generate pages for my data’, Import Data
This action creates an app and takes you to the landing page (click on the preview to view your app)
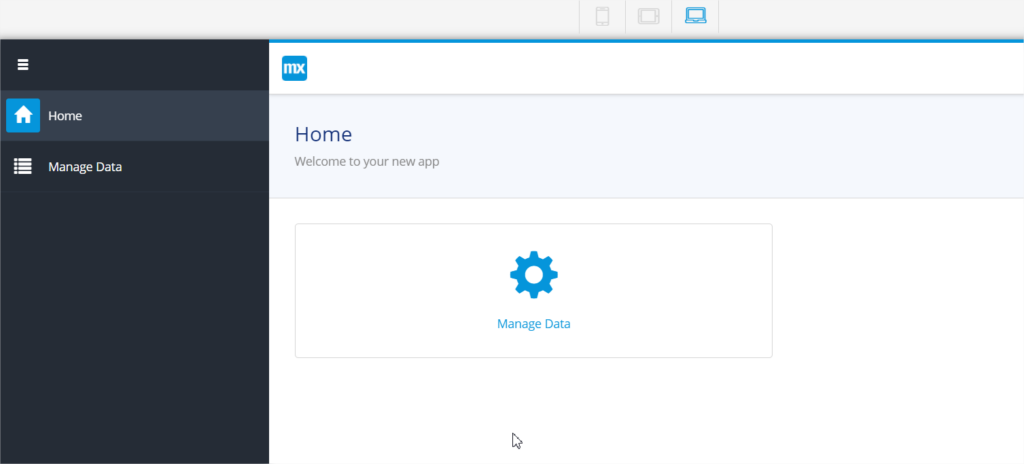
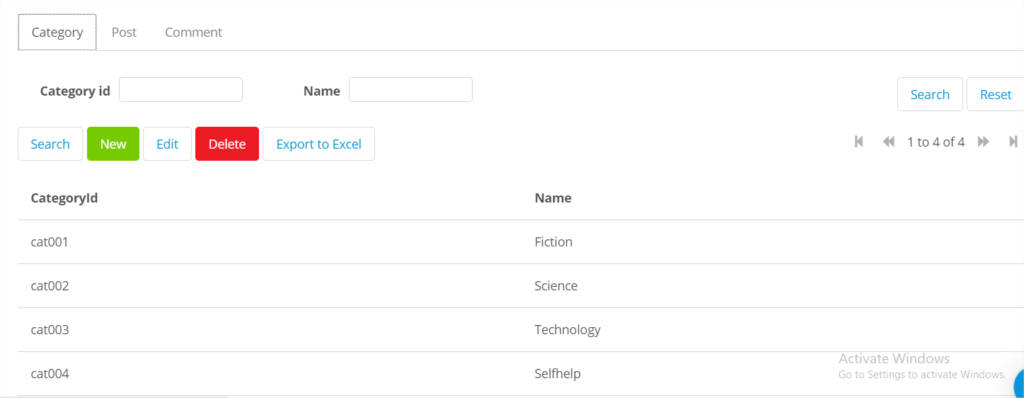
Hurray!! We now have an app with CRUD operations and search screens with pagination.
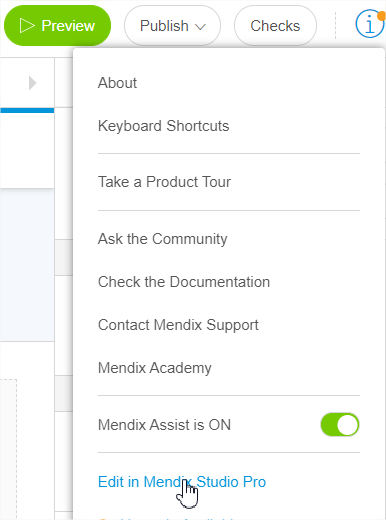
Close the preview to go back to the landing page. Click on (i) -> Edit in studio pro. This will open our app in studio pro (this is to showcase the bi-directional sync scenario for studio and studio pro)
As the tool generated the above pages automatically, what if we need to customize them or create new pages?
You need to know about “Pages”.
Pages define the end UI of a Mendix application. It’s used to display info to the end-user, allow end-users to create and edit info, and enable end-users to trigger additional automated processing.
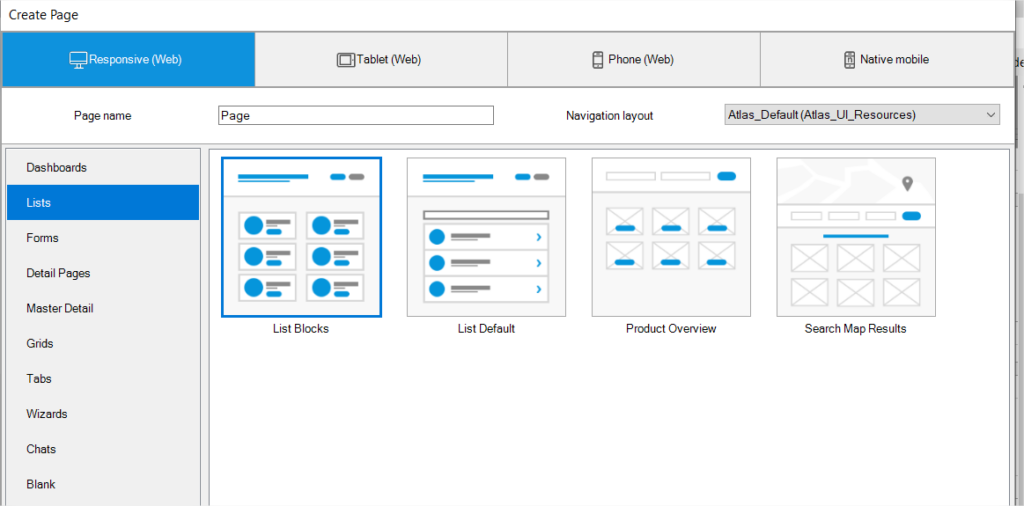
Every page is based on a layout and a template.
For example, Atlas_Default / PopupLayout are types of layouts you can choose when creating a page.
Layouts define a position, look and feel of such UI elements, as a page header and menu bars.
Depending on your choice, a page template can have several pre-defined elements on it (such as lists with images, forms). For example, Dashboard Action Tiles, List Default, Master-Detail are types of templates.
Look & structure of a page is defined by the following elements:
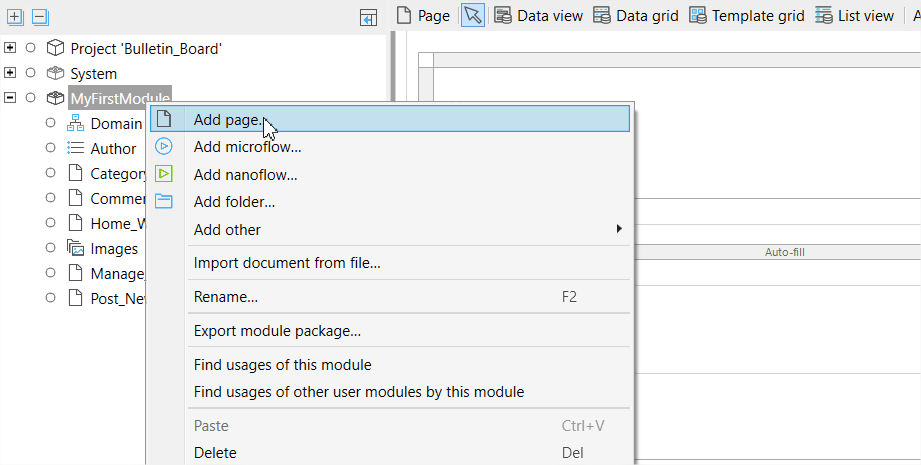
Once we open the app in Mendix modeler (studio pro), add a page
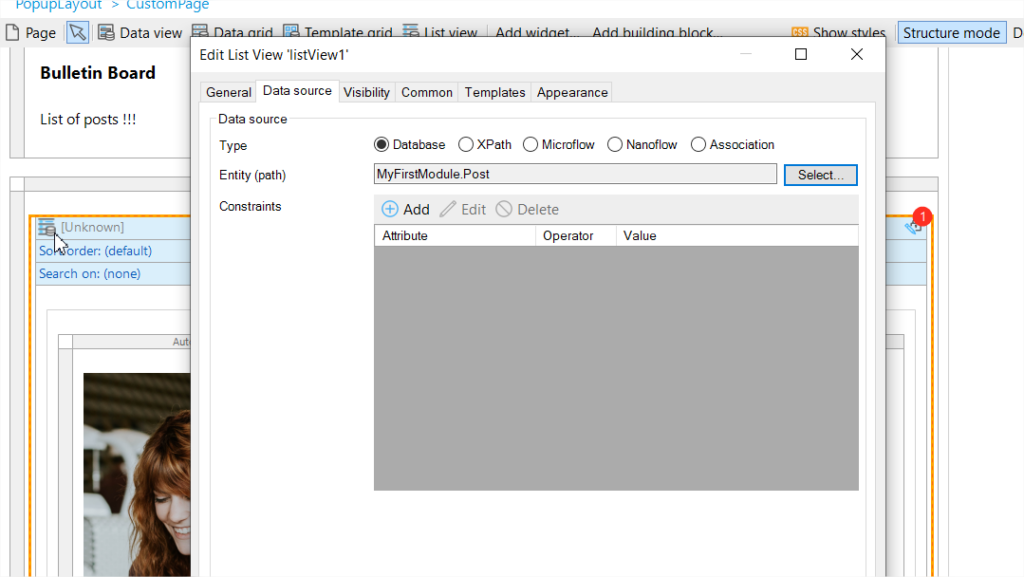
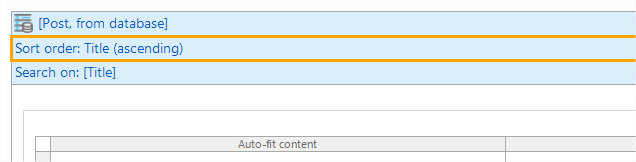
Double click to select source for the widget (Select Entity – Post, for our app)
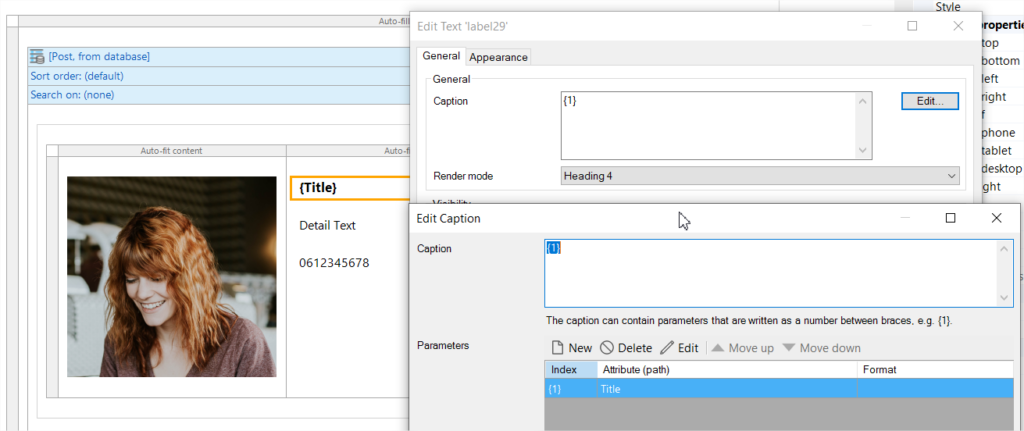
After linking the entity, Next is to map the attributes to the elements Title, Detail text, etc.,
Double click on the property and set the attributes to be displayed (Edit the caption and set the details as shown). Follow the same procedure for other elements too.
You can also set the Sort order and Search on:
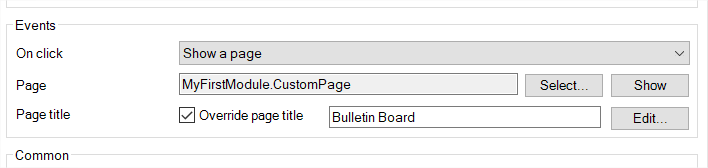
Now that the custom page is ready, create an action button on Home_Web and set the properties, on click-> Show a page and select your custom page.

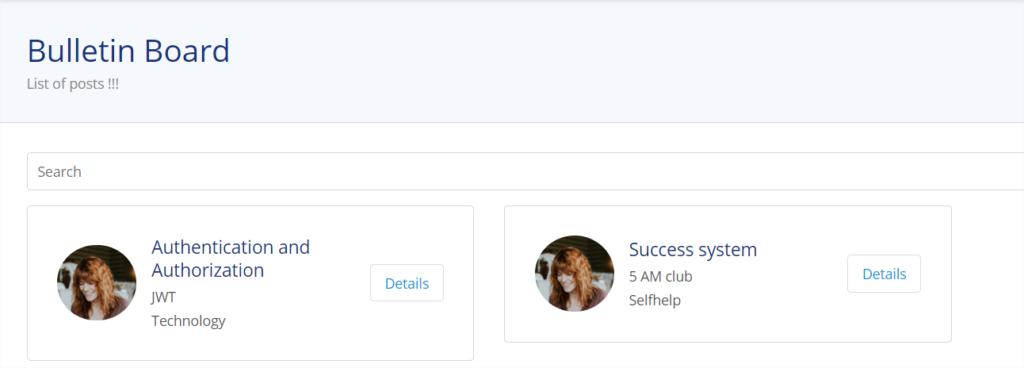
All set!! Click on ‘Run locally’ (top item on the studio pro modeler), once ready, click on view.
On the home page displayed click on the “Bulletin board” button, Hiya!!
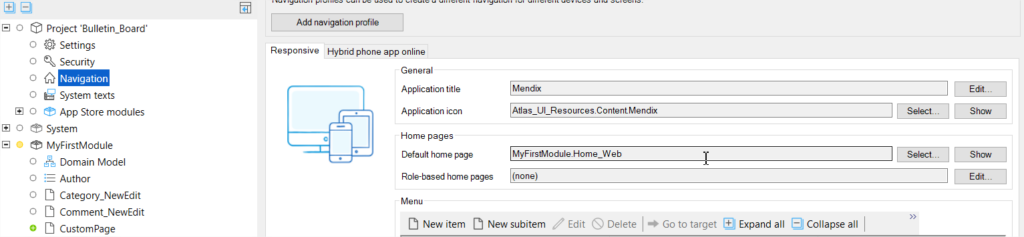
We can also make our custom page as default home page by selecting default home page under Project -> Navigation (so next time, if you click on view after run locally, directly our custom page will be displayed)
Now that we can develop custom pages, the next important topic to discuss is “Microflows”, stay tuned !!


