DevOps | Mobile Development
DevOps For Mobile Application Development 
Farhan Sumbul 24 Nov, 2016


A payment gateway is a service to buy products or to pay for subscriptions through any mobile/web application. Since there is no direct interaction between the application and payment processors due to security restrictions, the payment gateway acts as an intermediary between them.
While there are numerous payment intermediaries, the following are some of the popular payment gateways:
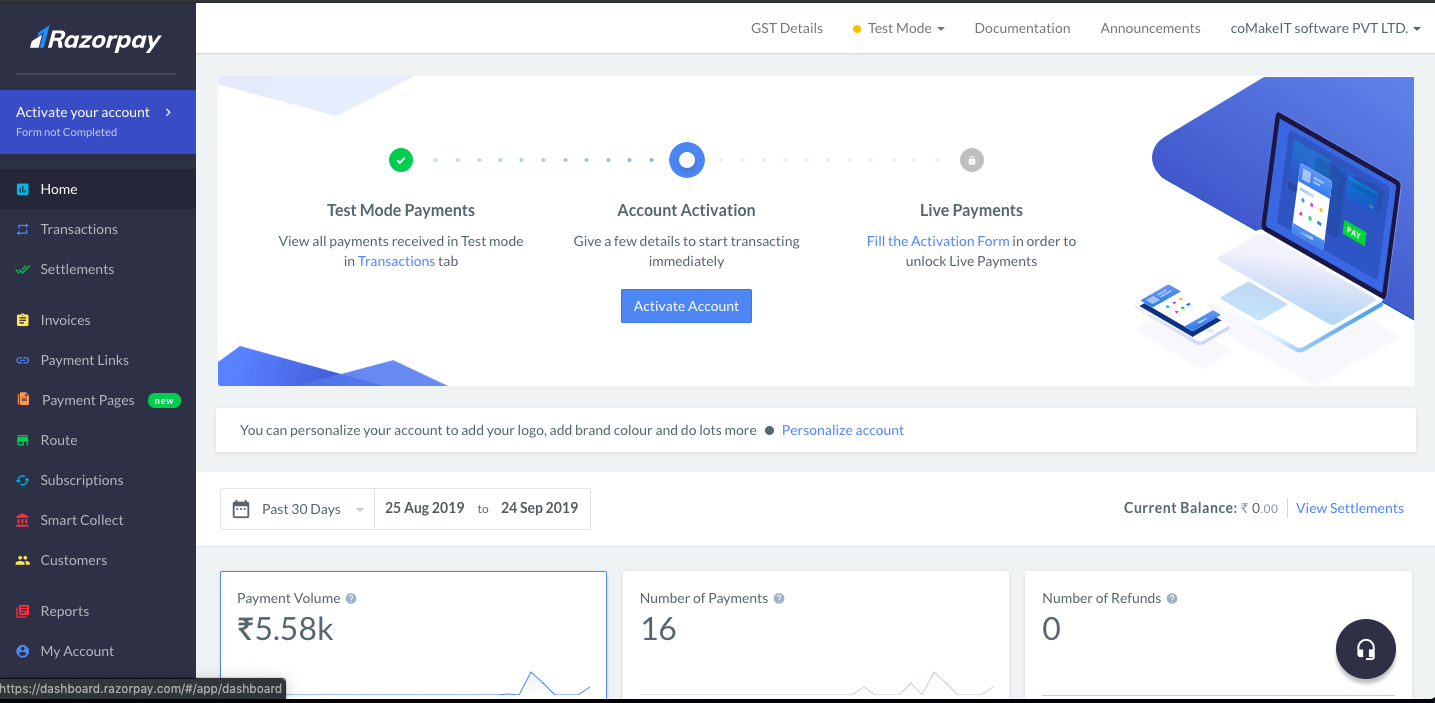
We have chosen Razorpay integration for this demo, as it is well documented for integration and customization. It offers clear and intutive visual designs for checkouts which makes integration easy during development, and supports wide range of payment options like credit and debit cards, bank transfers, e-Wallets, UPI, EMI.
The demo is impelemnted with Angular (Ionic) mobile App. The step-by-step procedure followed in the demo is described below:
declare var razorPayCheckout: any;
var options = {
description: ‘product or payment descripion’,
image: ‘image link to display in the UI’,
currency: ‘INR’,
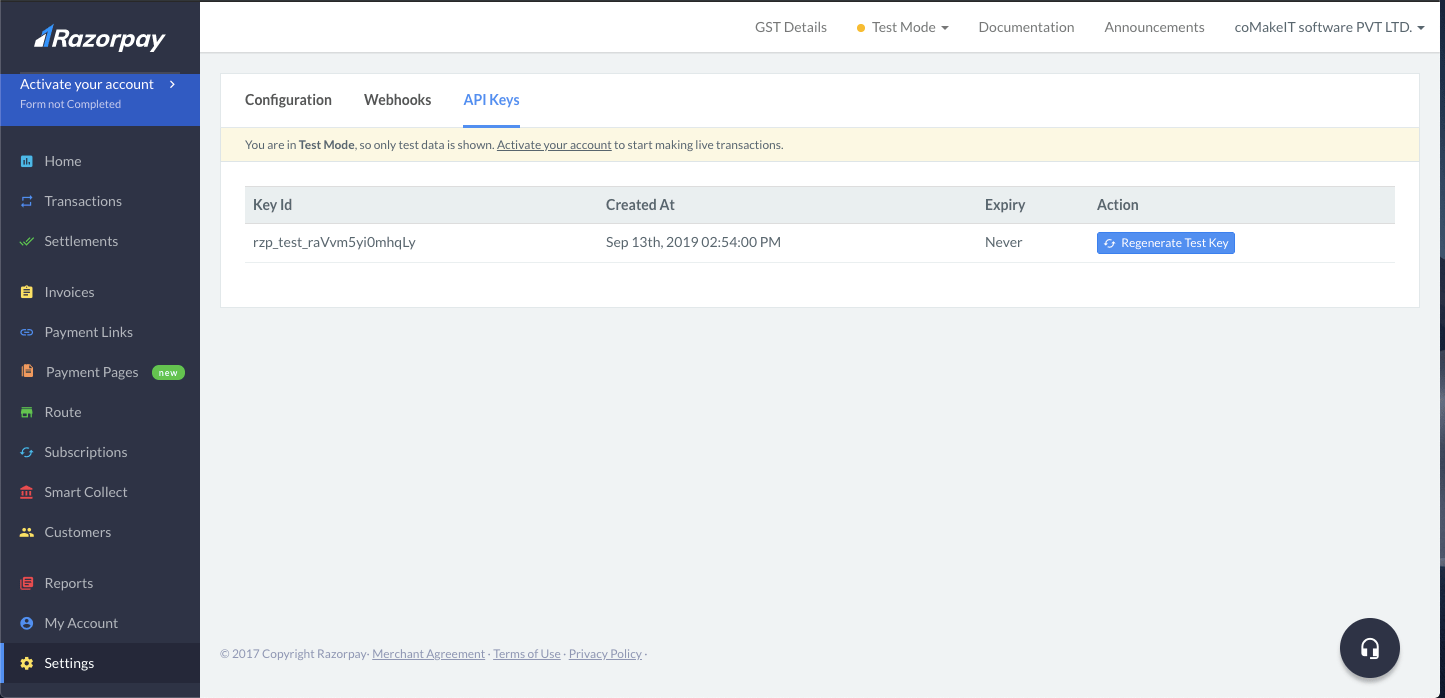
key: ‘razor_pay_key’,
amount: ‘5000’,
name: ‘foo’,
prefill: {
email: ”,
contact: ”,
name: ”
},
theme: {
color: ‘#F37254’
}
}const successCallback = function(success) {
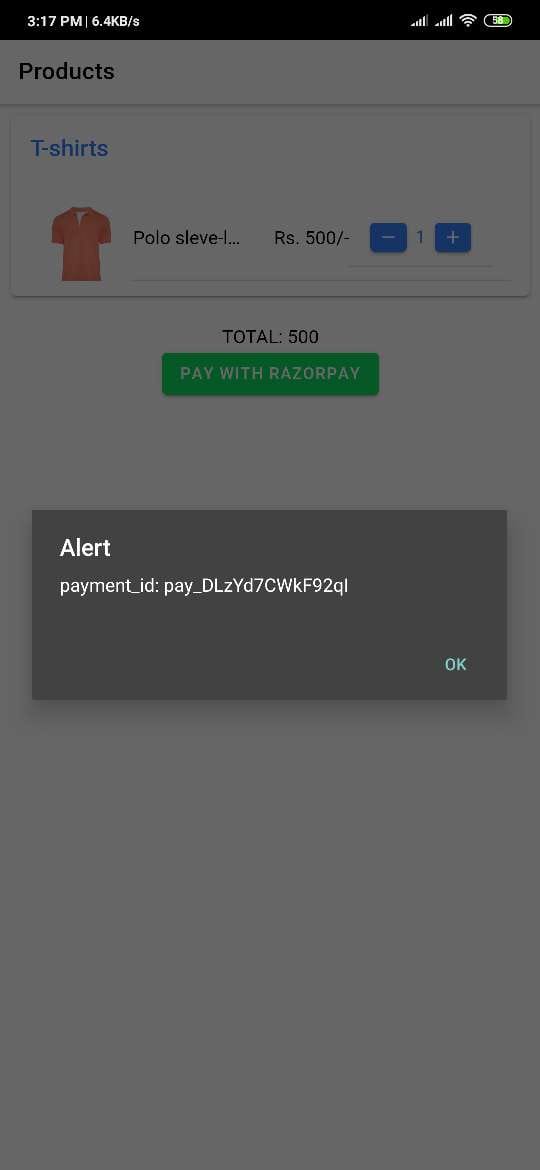
alert(‘payment_id: ‘ + success.razorpay_payment_id);
};
const cancelCallback = function (error) {
alert(error.description);
};
RazorpayCheckout.on(‘payment.success’, successCallback);
RazorpayCheckout.on(‘payment.cancel’, cancelCallback);
RazorpayCheckout.open(options);
{
“error”: {
“code”: “GATEWAY_ERROR”,
“description”: “The gateway request timed out”,
“field”: null
}
}
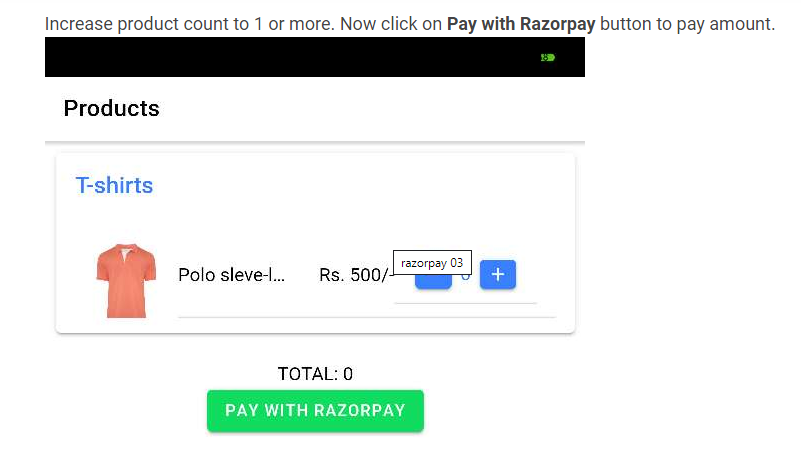
Increase product count to 1 or more. Now click on Pay with Razorpay button to pay amount.
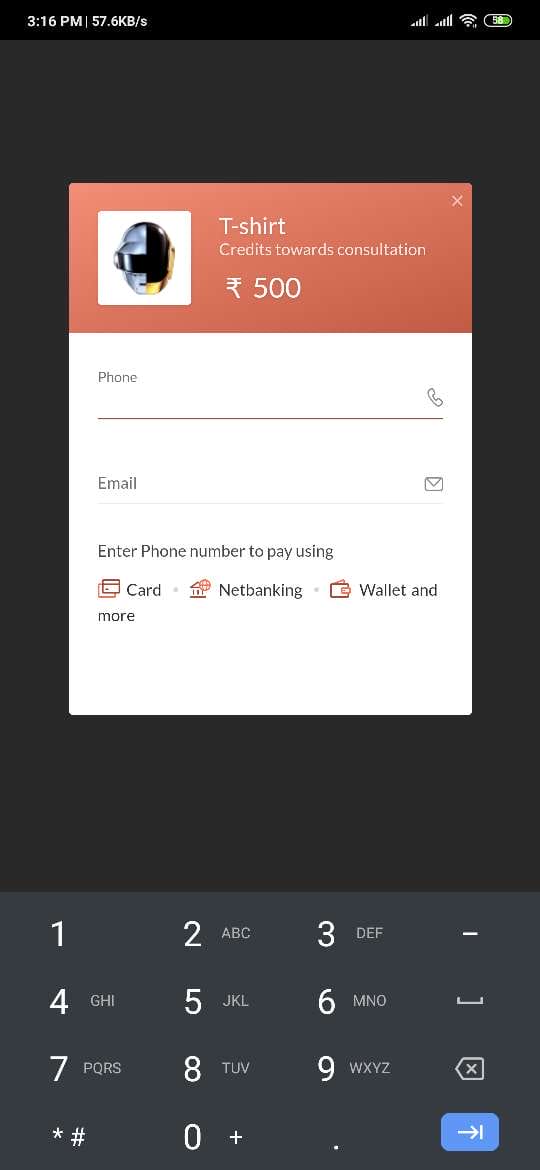
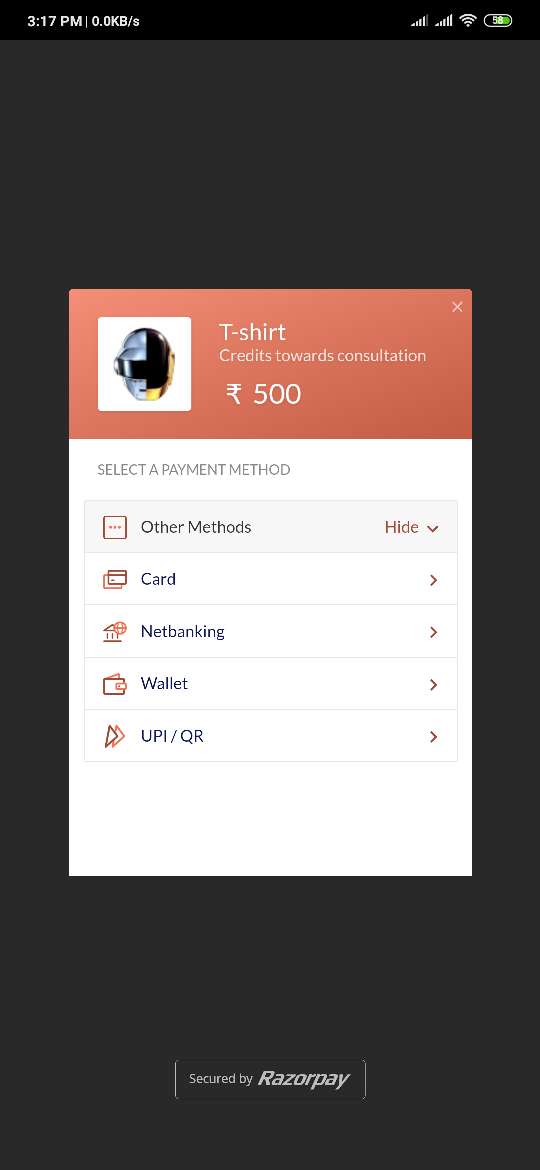
Enter mobile number and email id into field and select payment option such as credit card, net banking, etc. Click on more to see all available payment options.
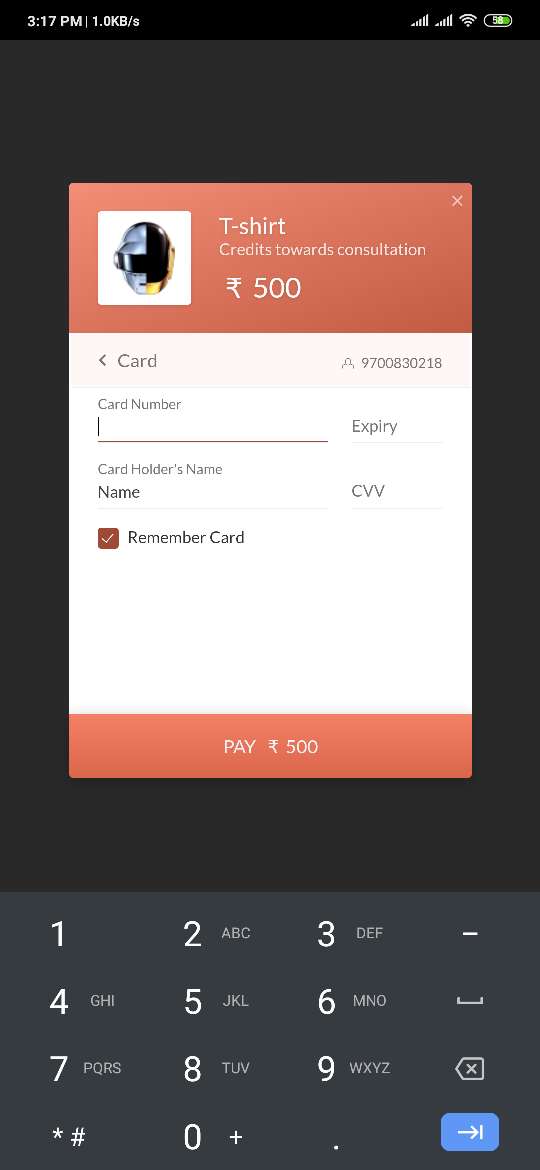
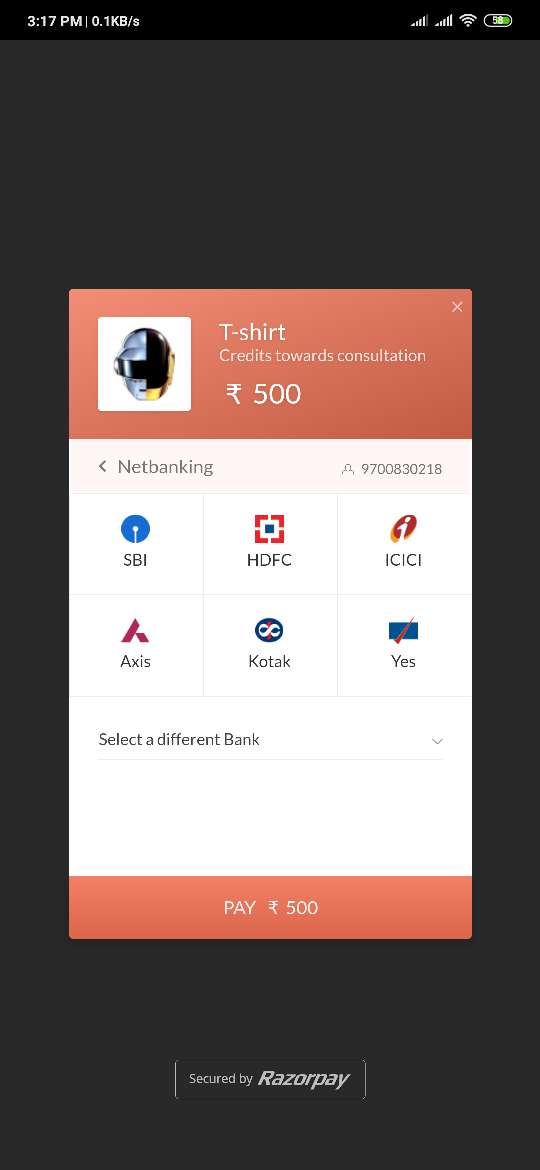
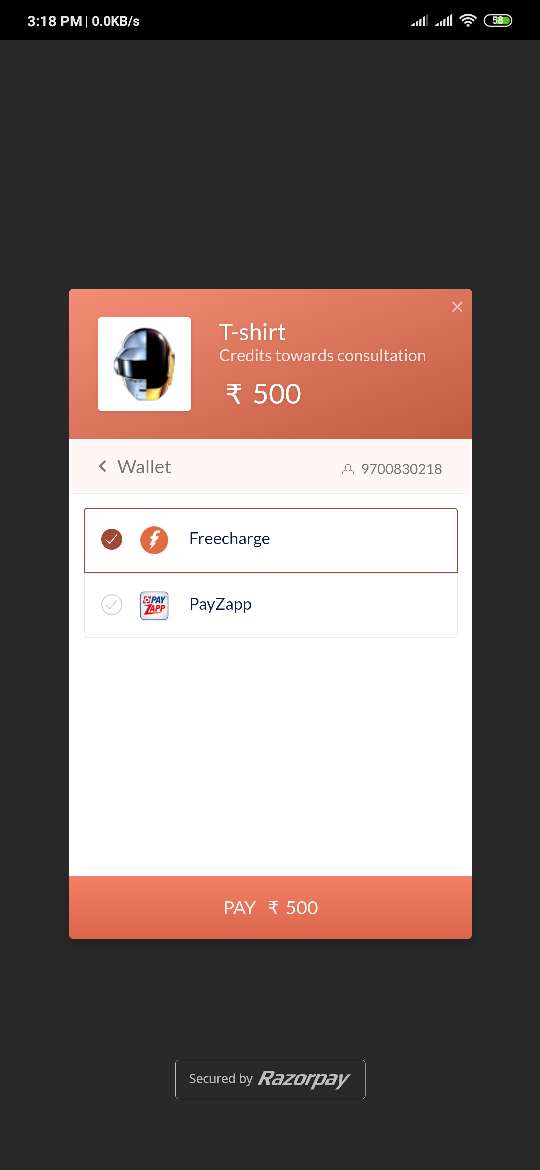
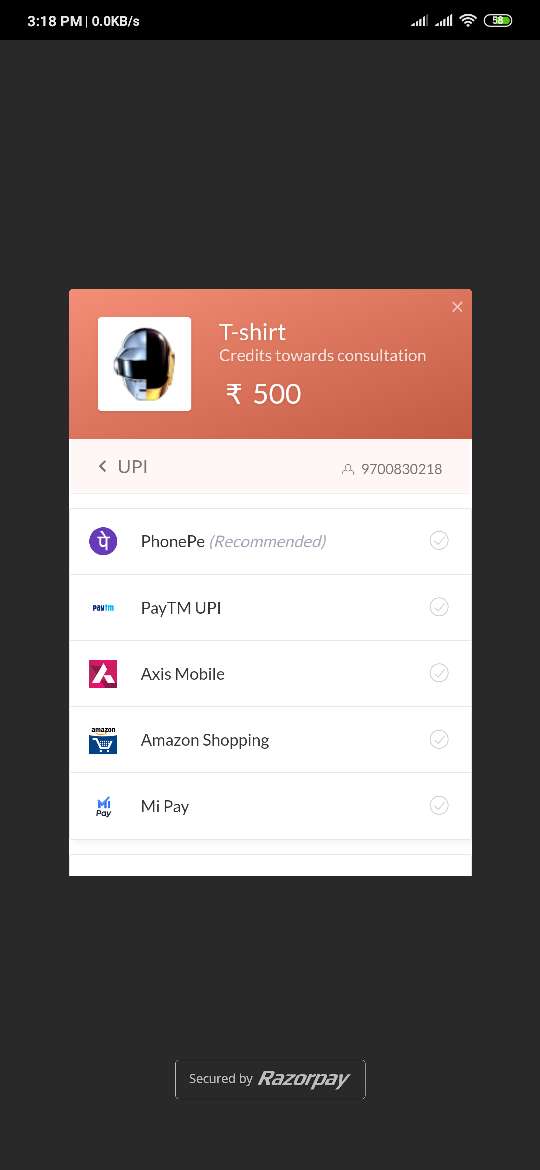
Select Card as payment method, and enter card information on the screen. We can go back from here to change payment method. Following are the various UI screens according to payment method selected.
Choose any one payment method, enter required inputs, and click on pay to proceed further. Once payment is successfully captured, user will be informed with success message.
Sample Ionic cordova Project for reference:
https://bitbucket.org/vishalrevdiwala/razorpayintegration/
Below is the demo video of the online payment using Razorpay. This demo is performed under Test Mode. Video is attached with this document for reference.
https://razorpay.com/integrations/ https://github.com/razorpay/razorpay-cordova


